Summary
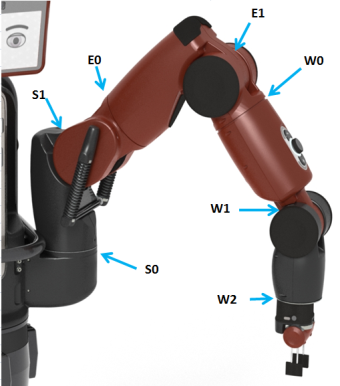
The joint position keyboard example demonstrates basic joint position control. Each key of your development PC is mapped to either increasing or decreasing the angles of a particular joint on Baxter's arms. Each arm is represented by one side of the keyboard with corresponding increase/decrease joint key pairings within the rows.
Code Walkthrough
Joint Position Keyboard - Code Walkthrough
Usage
Verify that the robot is enabled from an RSDK terminal session, ex:
$ rosrun baxter_tools enable_robot.py -e
Start the joint position keyboard example program, ex:
$ rosrun baxter_examples joint_position_keyboard.py
Upon startup, you will be prompted with the following:
Initializing node...
Getting robot state...
Enabling robot...
[INFO] [WallTime: 1399575163.891211] Robot Enabled
Controlling joints. Press ? for help, Esc to quit.
Useful reminder of the joint name mapping:
Pressing the ? key will print the key->joint mapping:
Video
Arguments
Important Arguments: N/A
See the joint position keyboard's available arguments on the command line by passing joint_position_keyboard.py the -h, help argument:
$ rosrun baxter_examples joint_position_keyboard.py -h
usage: joint_position_keyboard.py [-h]

RSDK Joint Position Example: Keyboard Control

    Use your dev machine's keyboard to control joint positions.

    Each key corresponds to increasing or decreasing the angle
    of a joint on one of Baxter's arms. Each arm is represented
    by one side of the keyboard and inner/outer key pairings
    on each row for each joint.


optional arguments:
  -h, --help  show this help message and exit

See help inside the example with the '?' key for key bindings.
Trouble?
Please visit our Troubleshooting Section